Archive for the ‘Notions’ Category
Notions: Bobbin Minder(s)
Posted on: September 19, 2009
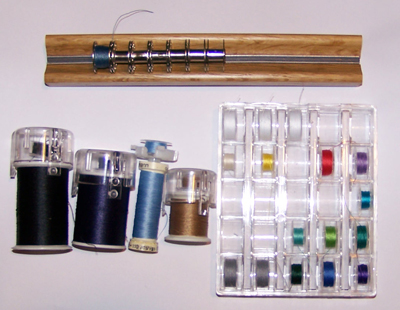
I have used several types of bobbin “minders” or trays. If you don’t have hundreds of spools of thread, you might go with the “cap” style. I use the plastic tray the most.
Tips: How to use a Ruffler Foot
Posted on: July 19, 2009
- In: Notions | Sewing Tips
- 5 Comments
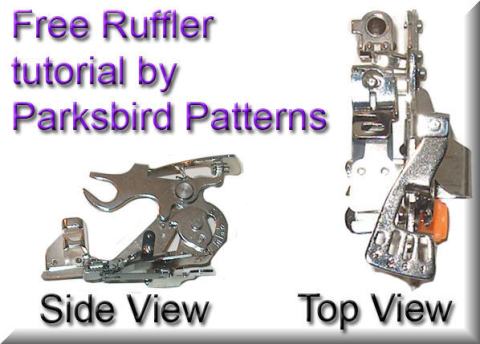
Note: A ruffler foot is not required for any of my Parksbird Patterns.
| A ruffler foot can be VERY intimidating. I know mine was when I received it (with NO instructions!) It is a lot of FUN to use and makes ruffles a breeze.First, you may need a shank adapter to fit your machine unless your presserfoot attaches by “wrapping” the curved piece around a permanent shank and screwing it on. |
 |
| There may be an adjustable gauge for gather regulation.the number (x) means ruffle every x stitches 1 would be VERY full because it will ruffle with For standard ruffles, I keep mine set on 6. There should also be a slot that enables you to stitch If you are stitching normally, you may |
 |
| The big “U” will loop around the needle’s thumbscrew. It will cause the mechanism to bob up and down with the needle – so it knows how many stitches it has made.Warning – this is not particularly easy to do – you’ll have to twist the foot around to get both parts attached. The shank attaches normally. If you do not have a |
 |
| Once you have the ruffler foot attached to your machine (I don’t have it attached in this photo), you will put RIGHT SIDES TOGETHER same as you normally sew.Your main fabric goes on the bottom (right side of fabric is up) Your ruffle fabric feeds through the slot above the presserfoot (right side of fabric is down) The foot will “grab” a section of your ruffle fabric Just take care to keep the raw edges of your main I recommend doing some “test” |
 |
| You can make further adjustments to the ruffle fullness by adjusting your machine stitch length.Shorter stitches = fuller ruffles TIP: Hem your ruffle before you
|
 |
| Fabric requirements for your ruffle:Using setting 1, you will need 4 or 5 times as much ruffle length as main fabric length. Using setting 6, you will need at least twice as much Using setting 12, you will need about 1.25 times as |
 |
Notions: Pin Grabber
Posted on: July 17, 2009

This is a very handy little tool if you ever spill or drop pins. On one end, it is a magnetic wand and you just run it across the carpet or desk to grab any loose pins.
Notions: Thread Cutter
Posted on: July 15, 2009
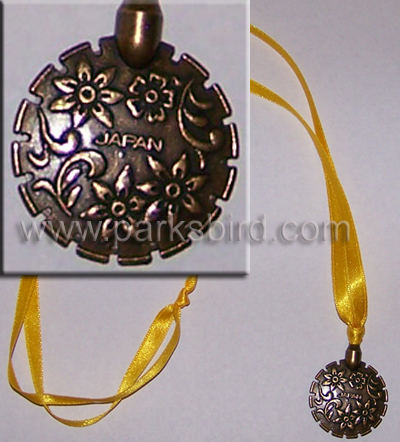
I purchased this thread cutter at Clotilde.com and added my own ribbon to wear it around my neck. It makes it easy to trim threads when hand or machine sewing. The notches around the edge are cutters. It is safe to wear though – it won’t cut anything accidentally.
Notions: Bobbin Winder
Posted on: July 14, 2009
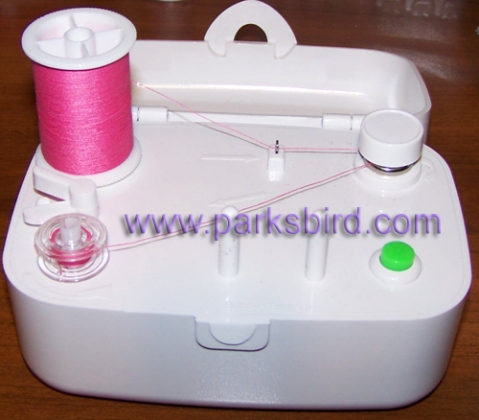
If you do a lot of embroidery, you will love this gadget. I always thread several white or black when I wind bobbins. For other colors and general sewing, I just fill bobbins as I need them. This item is a little pricey in my opinion, but if you find one on sale, it is worth it – or if someone needs a gift idea for you. 🙂
Notions: Needle Tool
Posted on: July 13, 2009

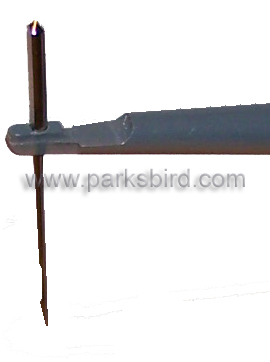
If you have a serger, your machine may have come with this tool. It has a brush on one end for machine dusting and a hole on the other end to use for needle insertion.
Replacing serger needles can be awkward and difficult, but this tool makes it easy.
Simply insert the needle as shown and be sure the FLAT side of the needle faces AWAY from you (toward the back of the serger). You can insert the needle and hold it firmly in place as you tighten the screw that holds the needle in the machine.
This tool is also good for regular sewing machines – not only sergers.
Notions: Needle Nest
Posted on: July 12, 2009
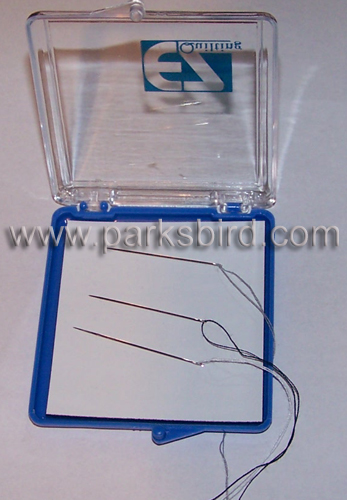
The “Needle Nest” is nice when you are hand-sewing. Even when you leave a needle threaded, when you stick it into a pin cushion, it will sometimes unthread itself (how does this happen??!?) Once it has no thread, you will have a hard time finding it. With a Needle Nest (a magnetized flat box), the needle stays threaded and is easy to get.
Notions: Fray Check
Posted on: June 30, 2009
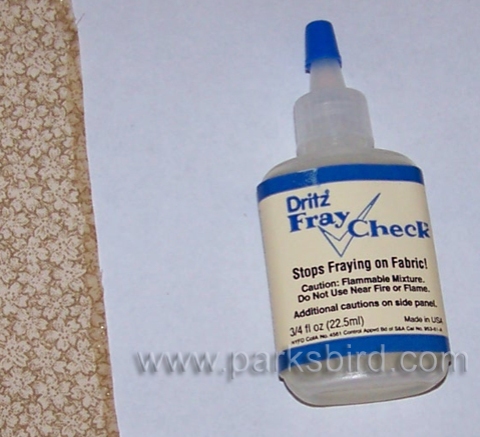
Fray Check is a wonderful product that prevents raw edges from fraying. You run a small bead of the clear liquid along the edge before you stitch it together with another piece. You must allow it to dry before stitching. It dries clear on most fabrics. There may be slight darkening of the treated area, but most of the time, it cannot be seen when dry. It prevents fraying even after the garment is finished and through many washings. I love it – it is especially good for zipper seam edges.
Tip: Dusting your machine
Posted on: June 28, 2009
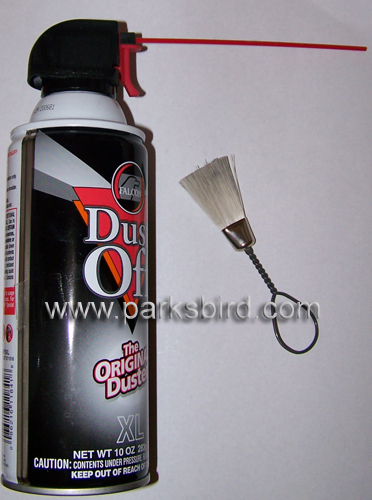
You must keep dust from buiding up in your machine. Use either canned air or a brush to remove dust. NEVER blow dust away using your mouth. Your breath contains moisture and is bad for moving machine parts. Bobbin casings need regular dusting. Sergers are particularly bad to collect dust and fabric particles underneath. Be sure to keep the inside of your serger clean.
Notions: Beeswax
Posted on: June 27, 2009
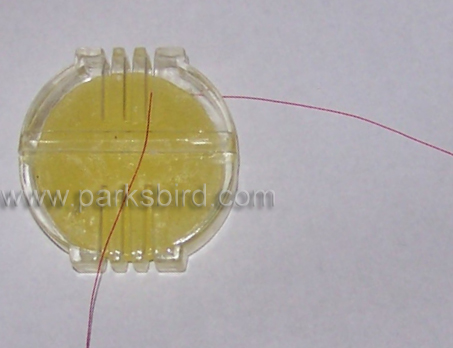
Beeswax is used to strengthen thread before you do hand sewing. It is especially good to use when you are sewing buttons on. You cut the length of thread that you need, then pull it through the beeswax as shown above. I usually pull thread through twice. It does not collect enough wax to be messy, but it will help your buttons stay on a LONG time!